

How To Install Usbasp Driver
Note
This article is a function of Arduino / ATmega328p Embedded C Firmware Programming Tutorial. Consider exploring the course home page for articles on similar topics.

Arduino Tutorial Embedded C Annals Level Arduino Master Class
Likewise visit the Release Page for Register Level Embedded C Hardware Abstraction Library and Lawmaking for AVR.
Introduction
This tutorial will walk you through the process of configuring Atmel Studio for flashing AVR based Arduino Boards from Atmel Studio Using USBasp. You will also come to know how to install USBasp Drivers.
To wink Arduino Board or whatsoever AVR Boards using the Internet service provider interface, USBasp is the cheap and all-time option. It supports a broad range of AVR Microcontrollers and piece of cake to use.
Using AVR USBasp for programming Arduino Board will give you more Flash memory space than using the Serial USB programming. By default, Arduino Boards uses a Bootloader to programme itself without the use of whatever external programmer hardware but for this to happen Arduino Boards uses 2Kbyte of Flash Memory for Bootloader. If y'all use USBasp you can use this extra 2Kb for your Firmware, and your program will start execution without whatsoever filibuster that Bootloader introduces otherwise.
Before proceeding you must install Arduino IDE as we will employ avrdude from Arduino Installation. If you want to know how to install please follow the link.
https://www.arnabkumardas.com/platforms/atmel/how-to-install-arduino-ide-and-drivers/
What You Will Learn
- How to install USBasp drivers in Windows 10?
- How to employ USBasp in Atmel Studio?
- How to wink Arduino UNO using USBasp from Atmel Studio?
- How to flash Arduino NANO using USBasp from Atmel Studio?
- How wink Arduino from Atmel Studio?
Steps to Configure
Time needed:15 minutes.
How to Install USBasp Drivers and Configure Atmel Studio to Wink using USBasp
- Install USBasp Drivers
The all-time and piece of cake way to install USBasp Drivers is by using the Zadig USB Commuter Installer.
- Download Zadig from the below link
https://zadig.akeo.ie/
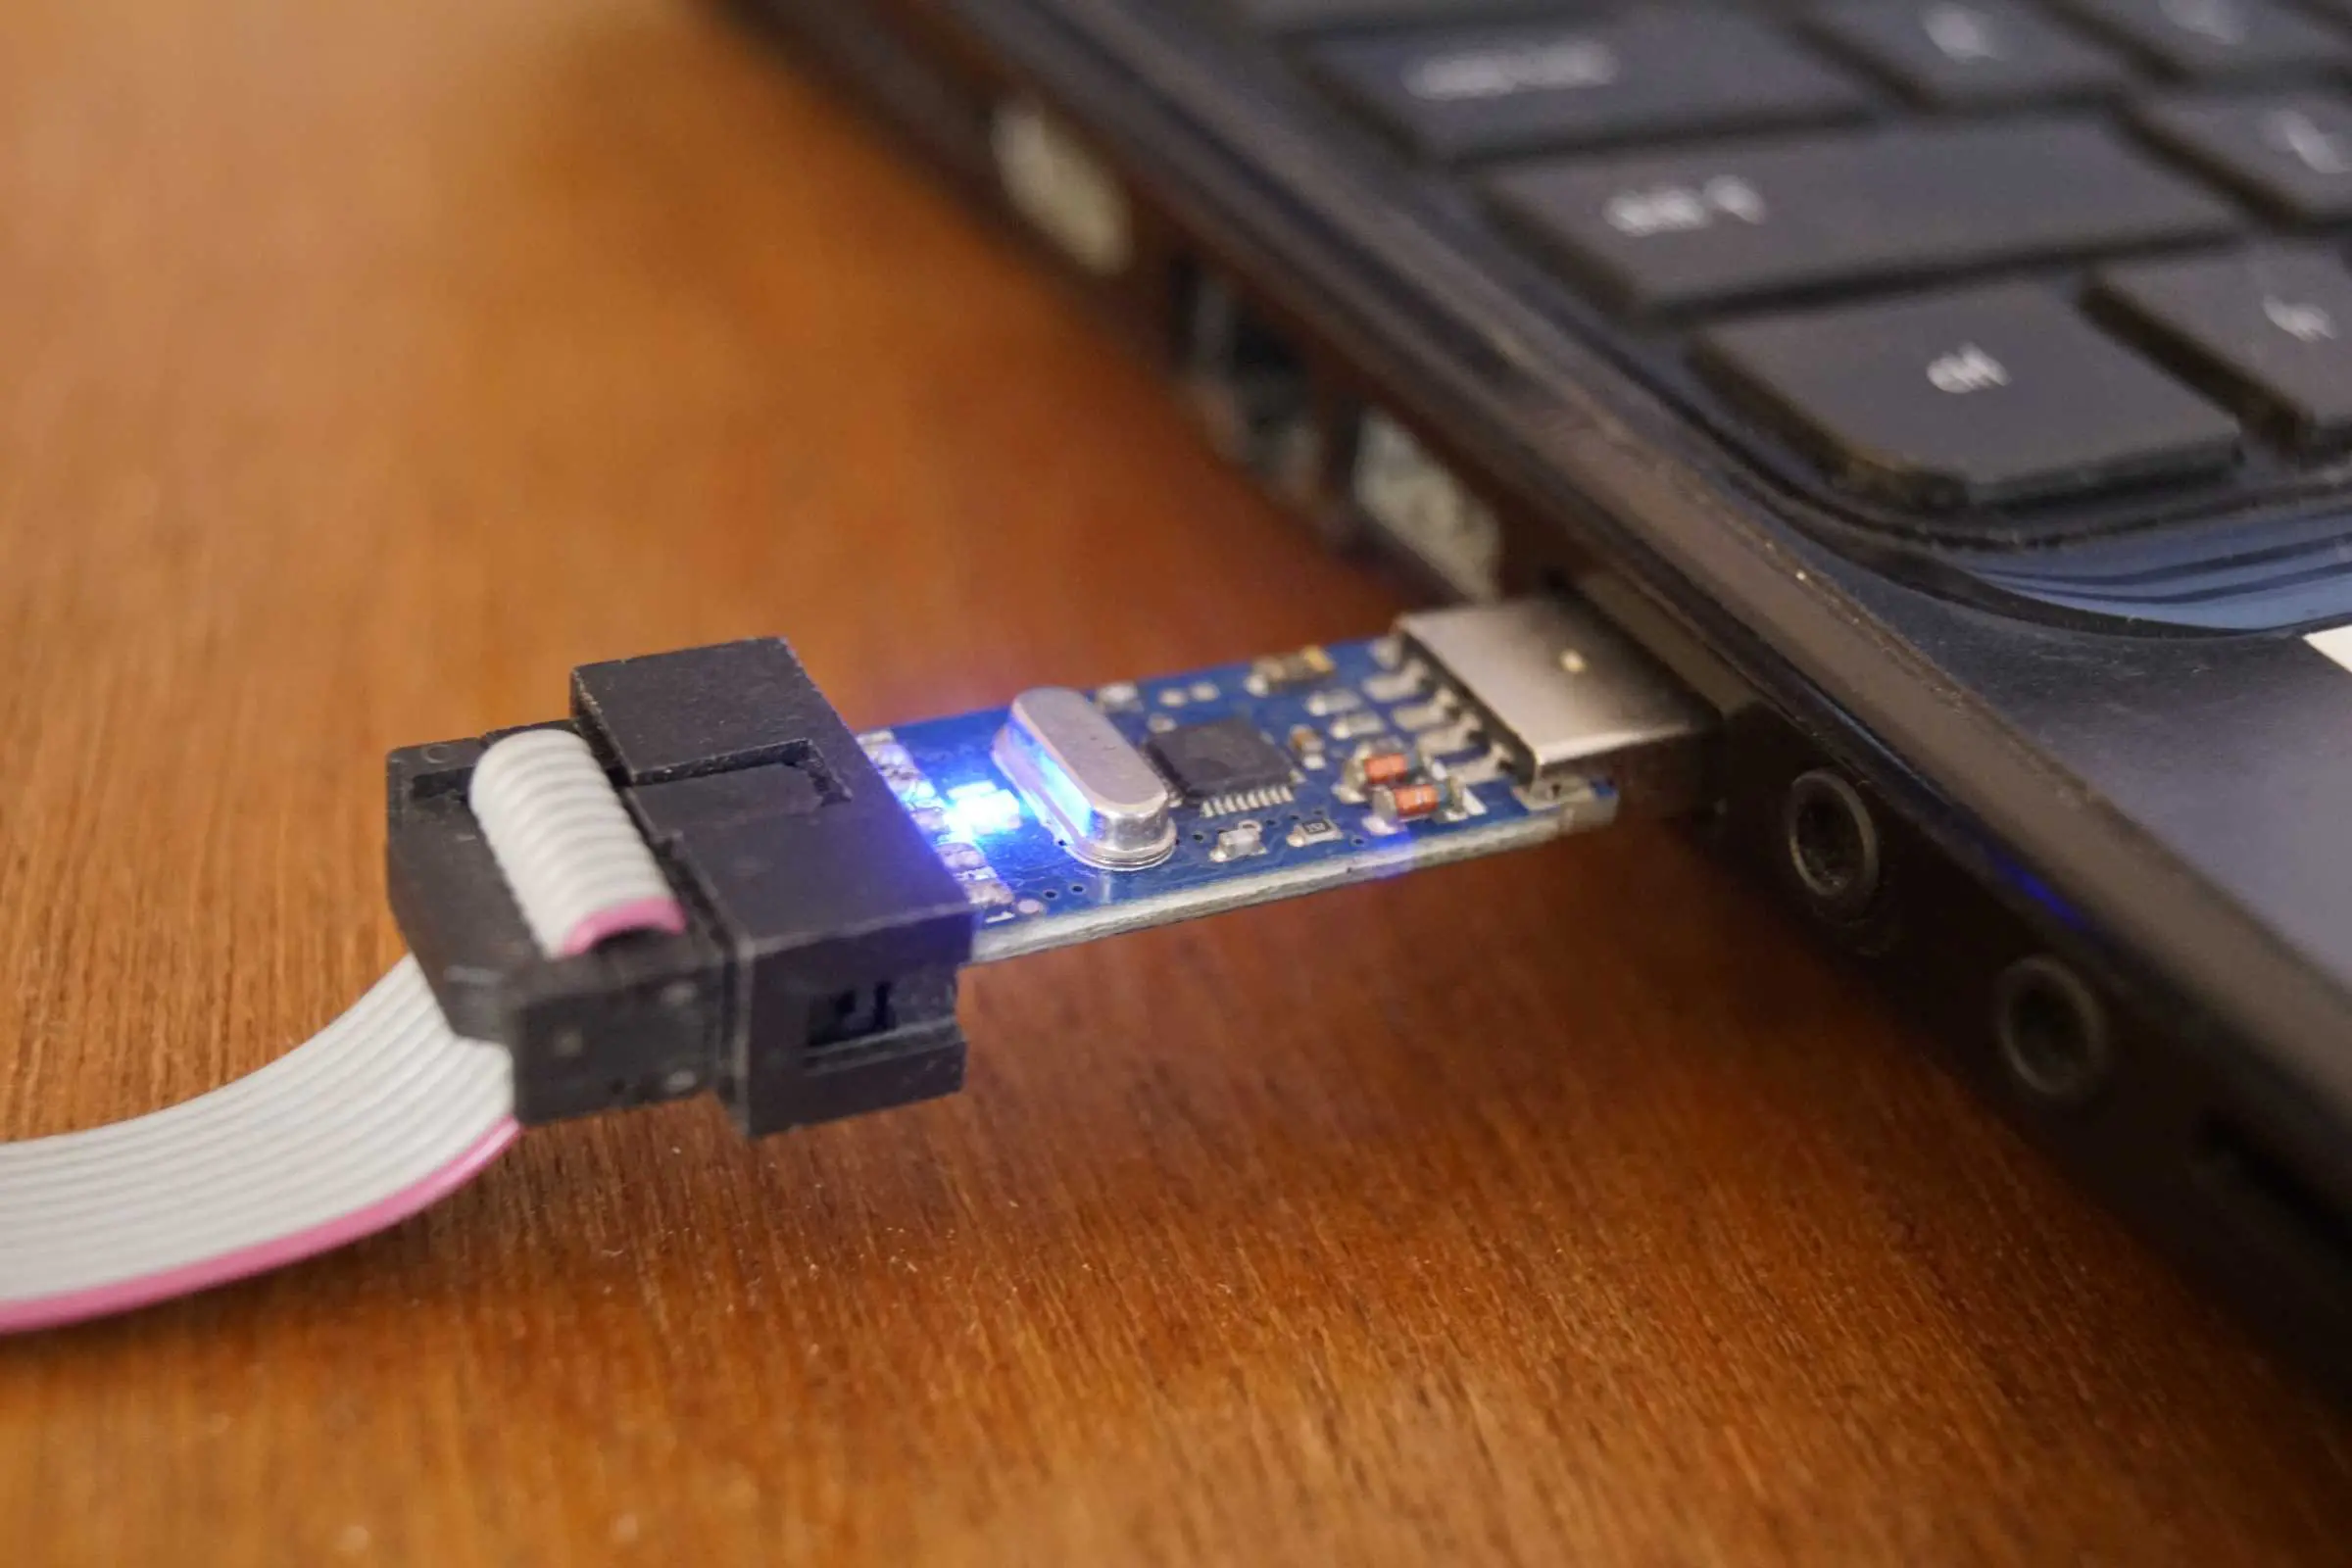
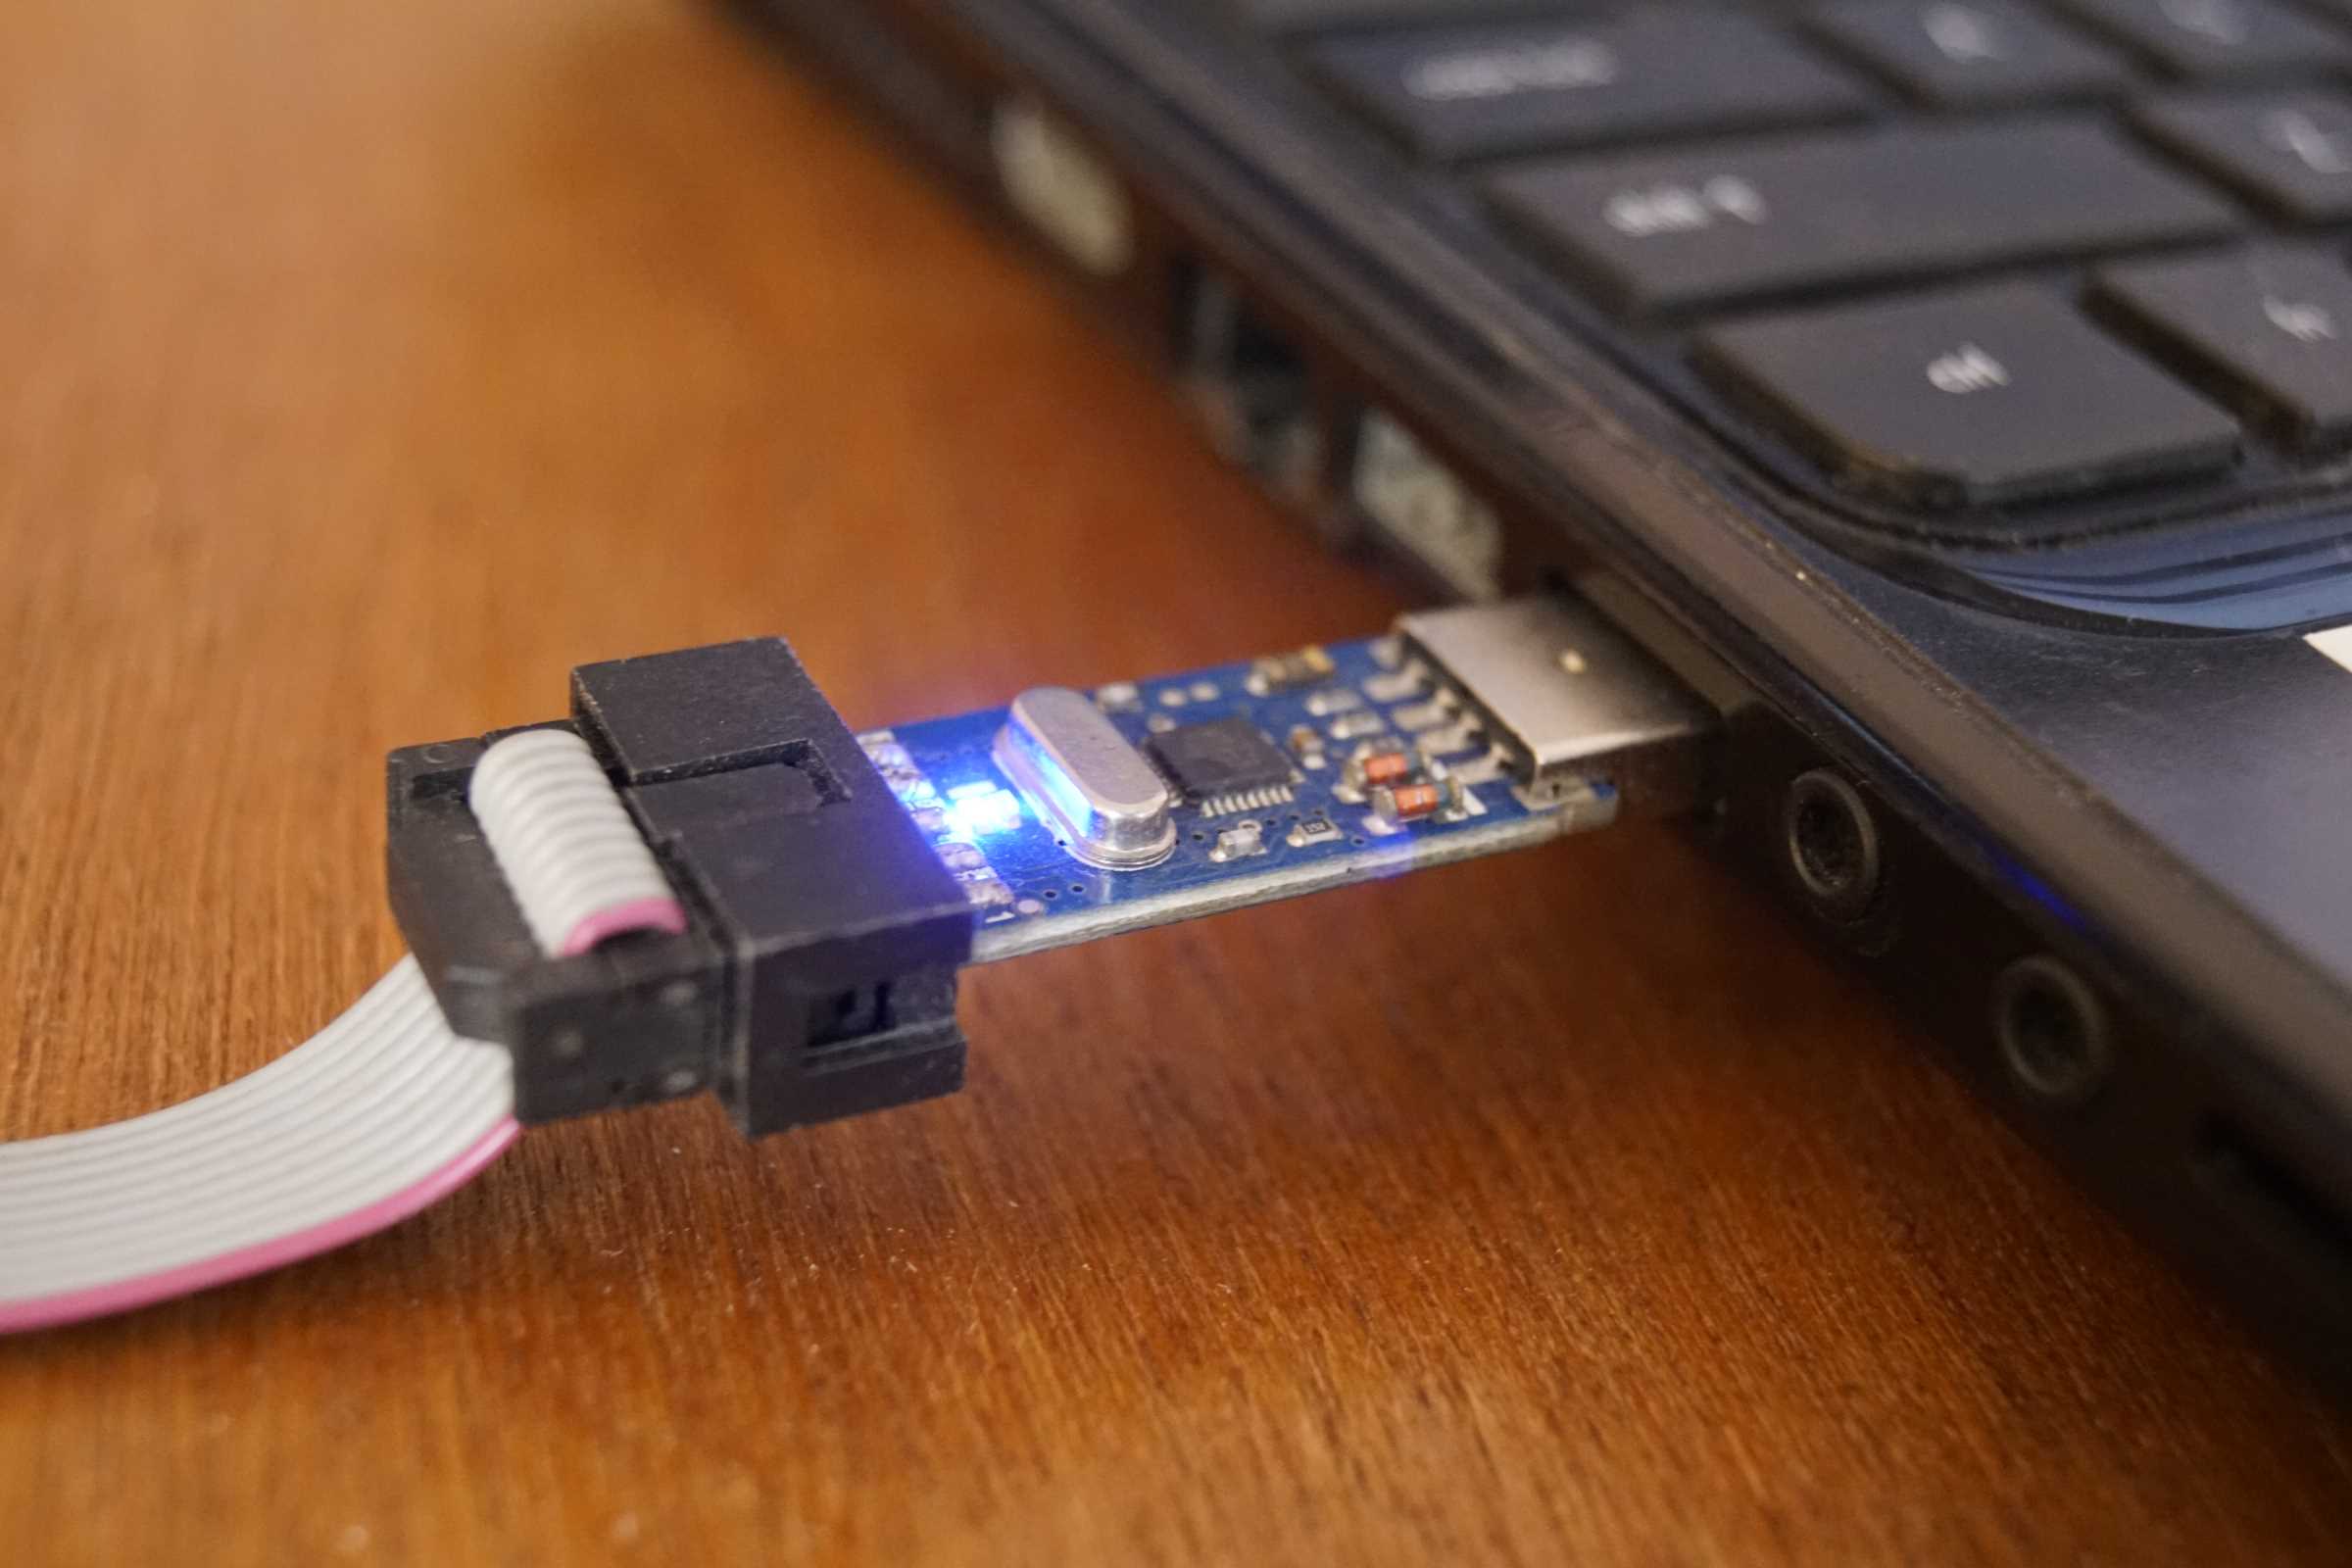
- Connect the USBasp to your calculator
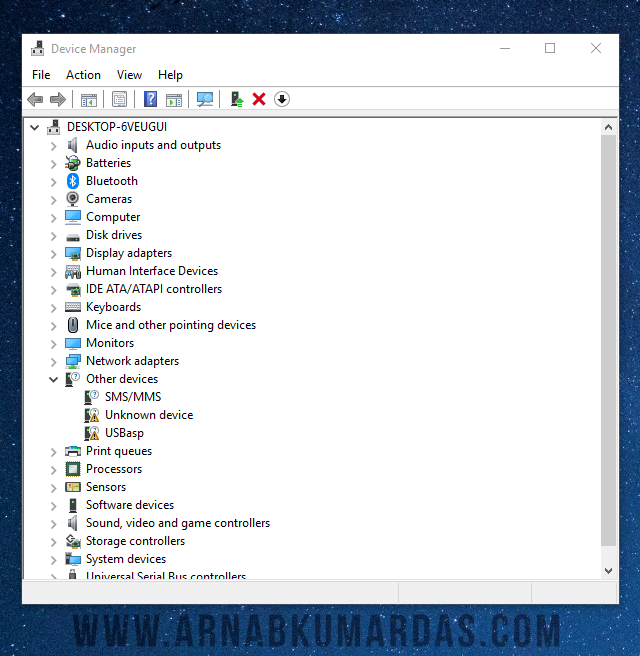
- Open Device Manager
You Should see the '!' mark next to USBasp.

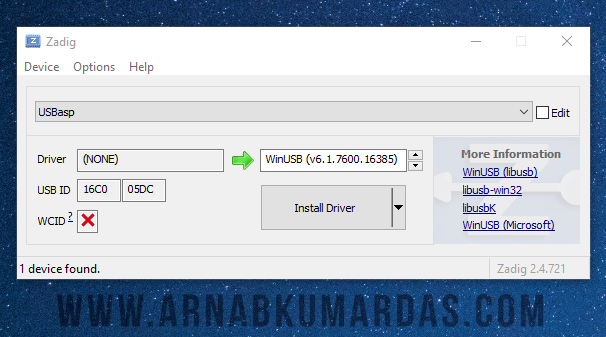
- Open up the Zadig Application that you lot have downloaded
You will see 'one device institute' in the left corner.

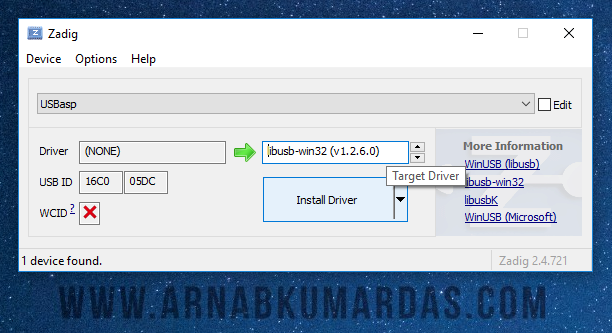
- Select Driver and Install
Select 'libusb-win32' and click 'Install Driver'.

- Commuter Installation
It ordinarily takes few moments to install the driver.

- After Successful Installation
A success bulletin is displayed if everything is ok.

- Open Device Manager
Open up Device Manager to Verify Installation. The '!' Mark should not be there.

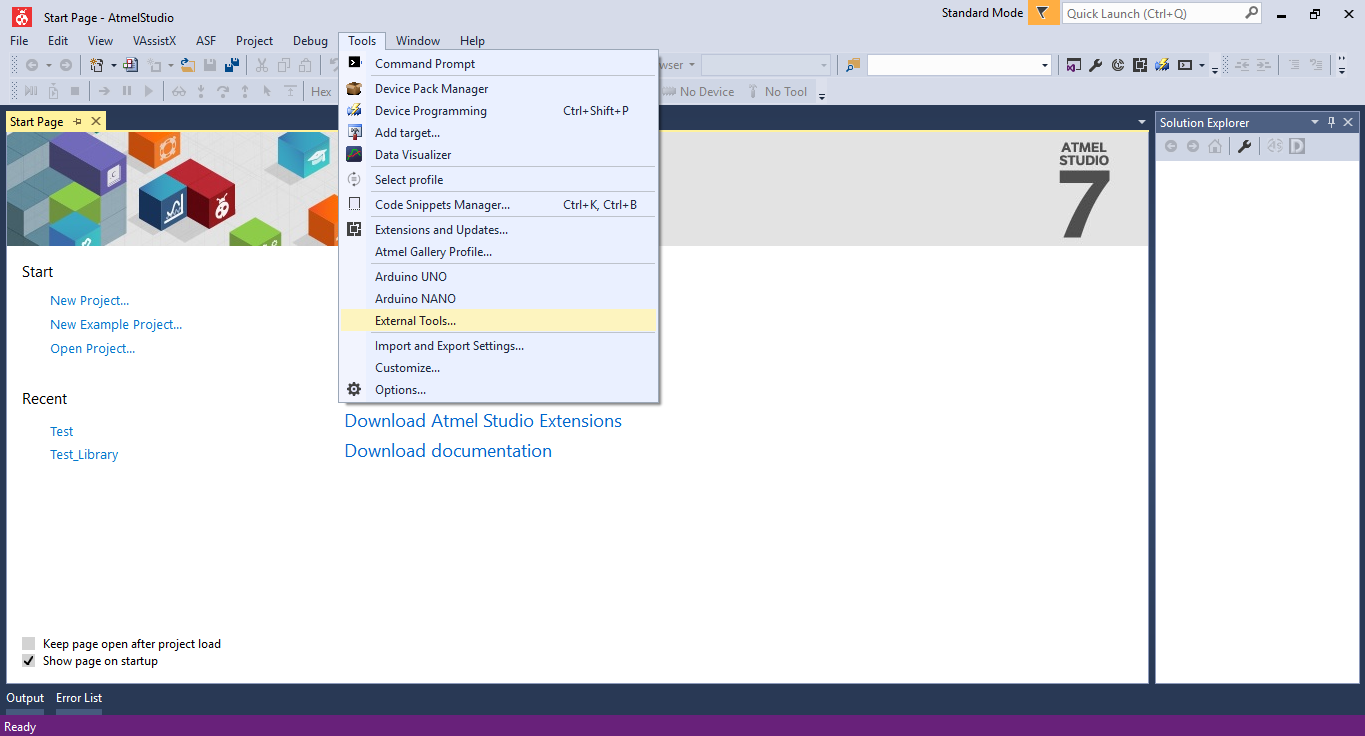
- Open Atmel Studio
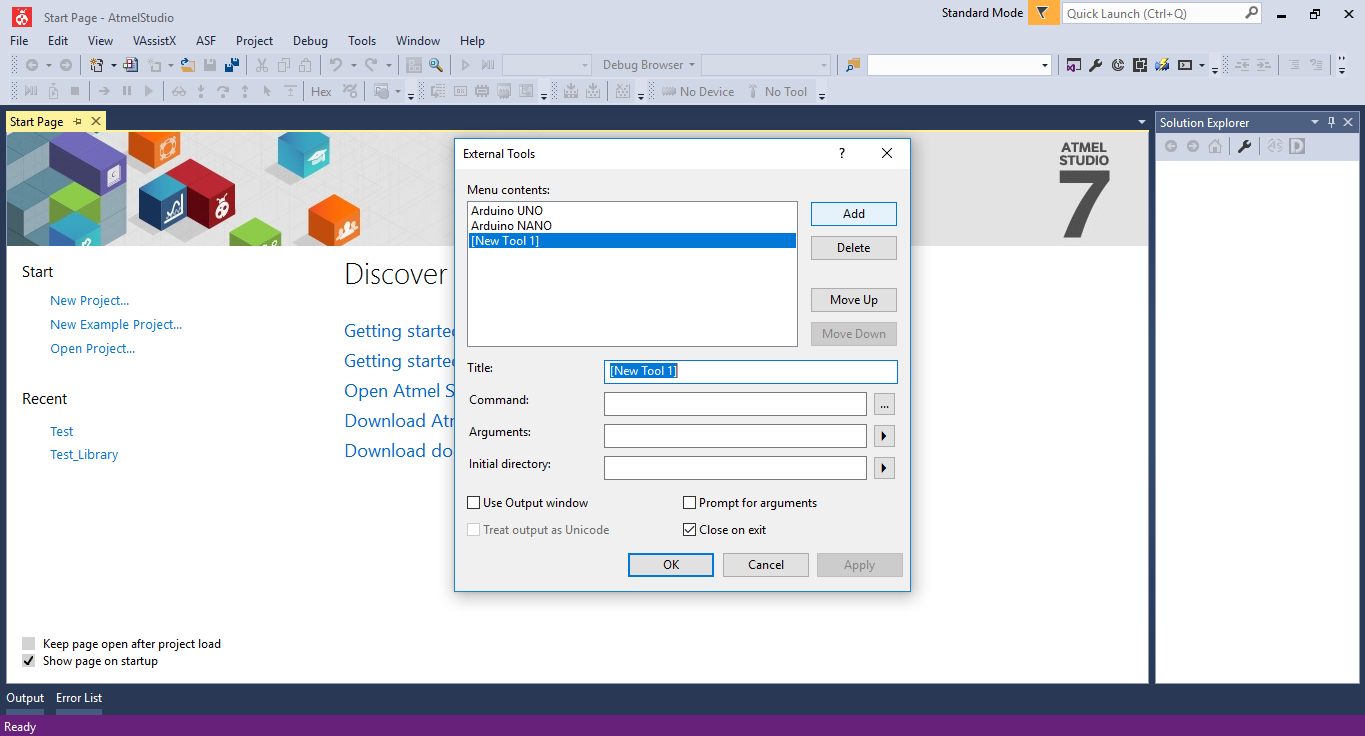
Open up Atmel Studio and become to Menu -> Tools -> External Tools.
- Click 'Add'
A new entry will be created.

- Fill the Text Boxes
Title : USBasp
Command : C:\Program Files (x86)\Arduino\hardware\tools\avr\bin\avrdude.exe
Arguments : -C"C:\Program Files (x86)\arduino\hardware\tools\avr\etc\avrdude.conf" -v -p atmega328p -c usbasp -U flash:due west:"$(ProjectDir)Debug\$(TargetName).hex":i
Select 'Use Output Window'
Alter the -p parameter based on your AVR chip.
Arduino UNO / NANO Microcontroller > -p atmega328p
Arduino MEGA Microcontroller > -p atmega2560
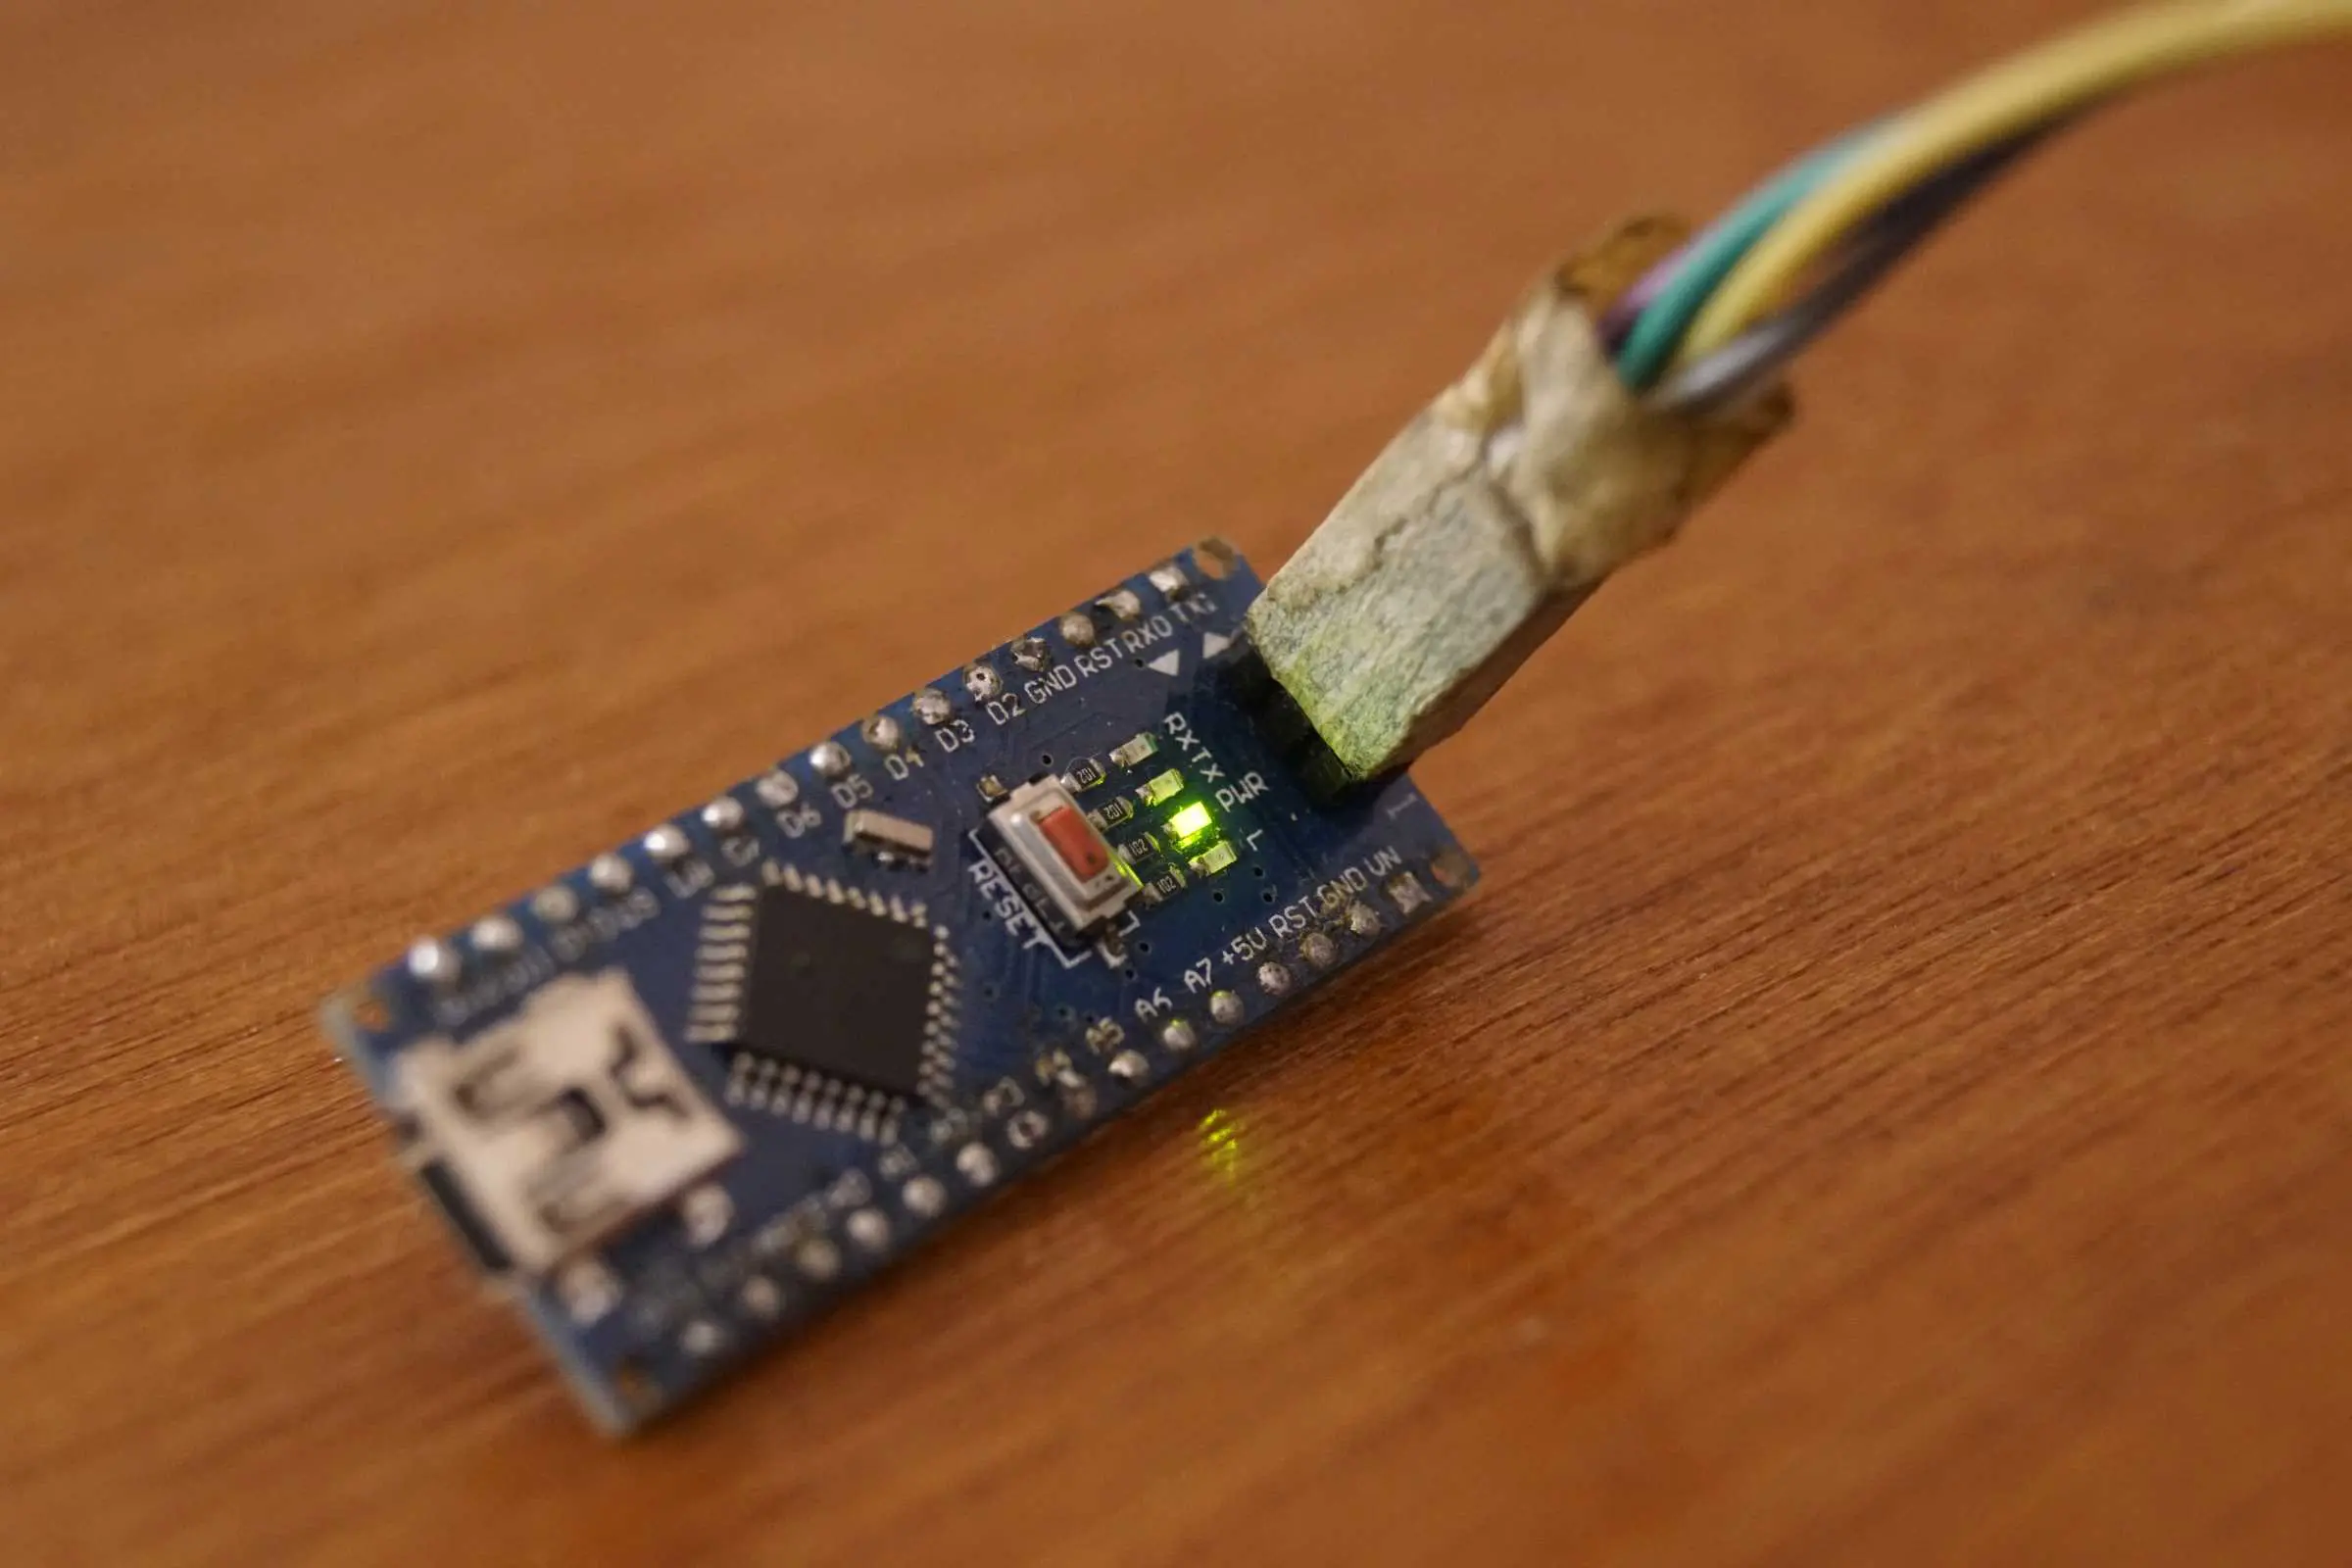
- Connect the AVR or Arduino Lath with USBasp
Brand sure to bank check the correct pin orientation.
- Test the Tool
Become to Menu -> Tools -> USBasp You lot should see a screen like this:


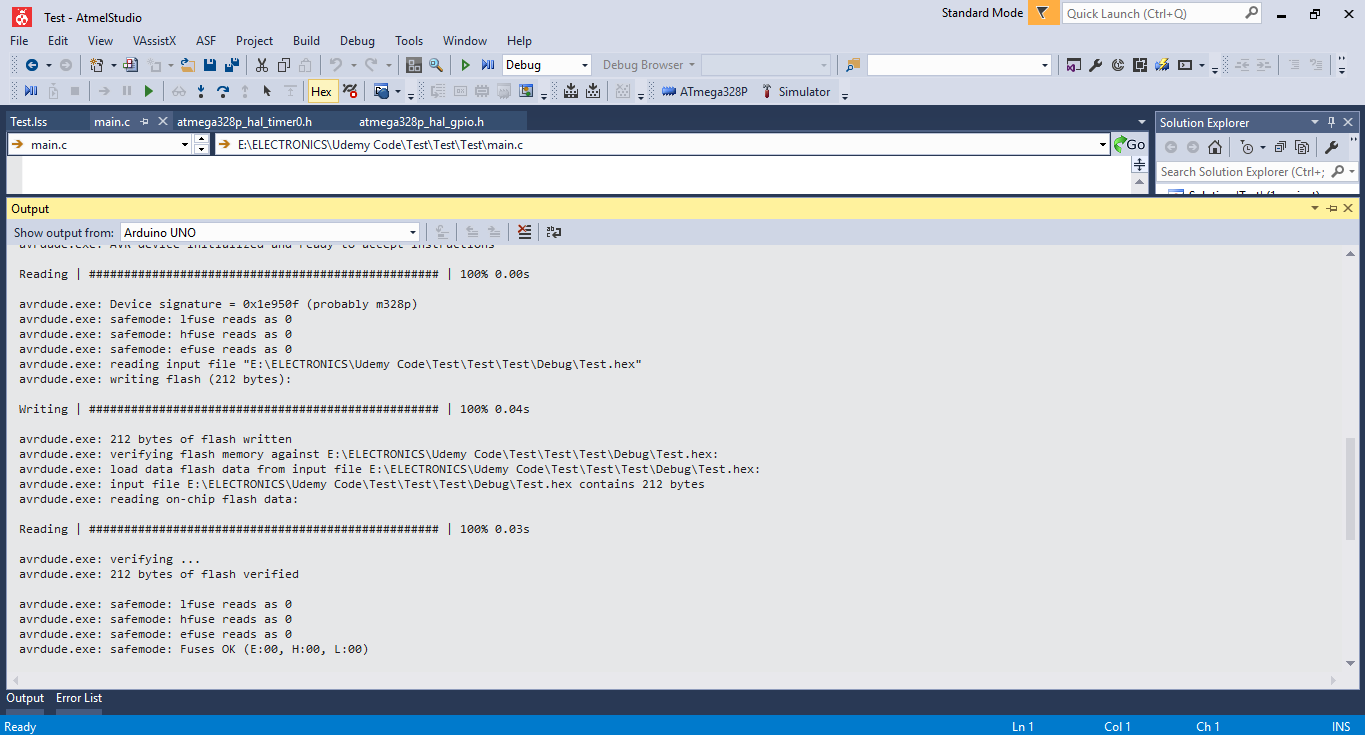
![]()
Crazy Engineer
MAKER - ENGINEER - YOUTUBER

Source: https://www.arnabkumardas.com/platforms/atmel/how-to-flash-or-program-arduino-using-usbasp-from-atmel-studio/
Posted by: rodriguezpight1985.blogspot.com
0 Response to "How To Install Usbasp Driver"
Post a Comment